How to Make a Beat in 2026: A Beginner’s Guide to Music Production
If you’ve ever wondered how to make a beat from scratch, the good news is that the barrier to entry has never been lower. In 2026 you can build a finished instrumental on a laptop you already own, using software that costs nothing, and export it to Spotify the same afternoon. The skills that used to require an expensive studio — programming drums, laying down an 808, writing a melody, mixing it so it doesn’t sound muddy — all live inside one piece of free software now.
This guide walks through beat making for beginners end to end: the gear you actually need (and the gear you don’t), the building blocks of a beat, how to pick a tempo and genre, programming your first drum pattern, adding melody and samples without getting yourself in legal trouble, and the mixing and export basics that separate a demo from something you’d put your name on. We’ll keep it honest — learning how to produce music is a craft, not a one-click trick, but you can get a real beat going on day one.
Table of Contents
- 1. What You Need to Make a Beat
- 2. The Elements of a Beat
- 3. Choosing a Tempo and Genre
- 4. Programming Your First Drum Pattern
- 5. Melody, Chords and Sampling
- 6. Sampling and Clearance Basics
- 7. Arranging the Beat
- 8. Mixing Basics
- 9. Exporting and Bouncing
- 10. How to Choose Your First DAW
- Frequently Asked Questions
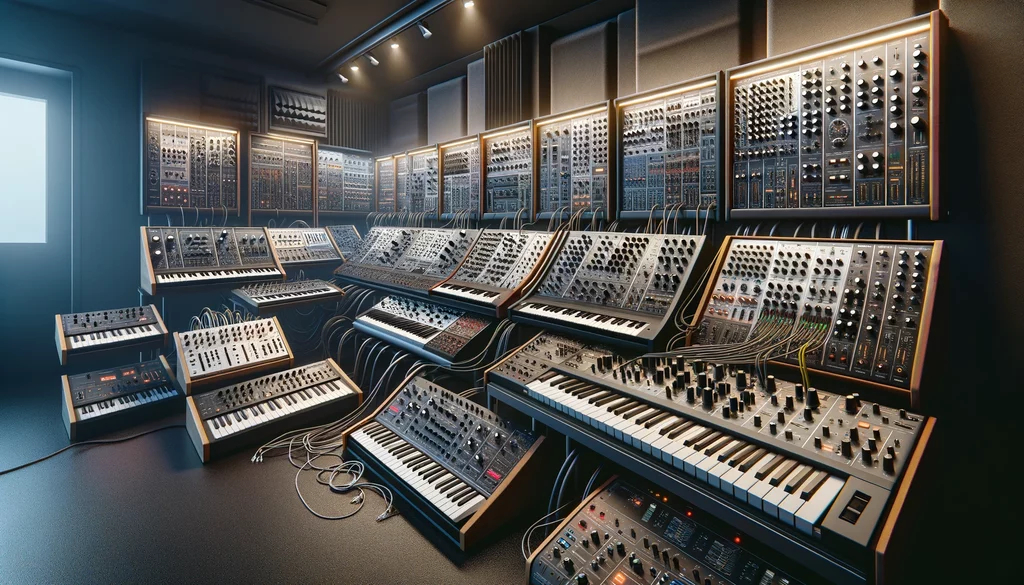
1. What You Need to Make a Beat
The shopping list for beat making in 2026 is shorter than most beginners expect. At minimum you need three things: a computer, a DAW (Digital Audio Workstation — the software where everything happens), and a pair of headphones. Everything beyond that is optional and can wait until you’ve made a few beats.
The DAW. This is the non-negotiable. A DAW is where you sequence drums, record melodies, arrange sections and mix. You do not need to pay for one to start. If you’re on a Mac, GarageBand comes pre-installed, shares the same audio engine as the professional Logic Pro, and has been used to release commercially successful records. On Windows, Cakewalk by BandLab is a fully featured DAW — formerly paid, now free with unlimited tracks and VST plugin support. LMMS is a free, open-source option inspired by FL Studio with a step sequencer and piano roll that suits hip-hop and EDM. And BandLab runs entirely in your browser with nothing to install, which makes it the lowest-friction way to make your first beat today.
A MIDI controller (optional). A small MIDI keyboard — 25 or 49 keys — lets you play melodies and chords with your hands instead of drawing every note with a mouse. Pad controllers let you finger-drum patterns in real time. Neither is required: every note in a DAW can be programmed by clicking in the piano roll. But a controller speeds up the creative part and makes the process feel more like playing music. Treat it as a “buy it once you’re hooked” purchase, not a prerequisite.
Samples and VSTs. Your DAW ships with built-in drum kits and instruments, which is enough to start. As you grow you’ll add sample packs (one-shot drum hits, loops, vocal chops) and VST plugins (third-party software instruments and effects). Many of the best are free. The one piece of advice that saves beginners money: don’t buy plugins until you’ve outgrown the stock ones. You won’t, for a while.
2. The Elements of a Beat
Almost every modern beat is assembled from the same handful of layers. Understanding them as separate jobs makes the whole process less intimidating.
- Drums. The rhythmic backbone. The three core pieces are the kick (the deep, low thump that drives the pulse), the snare (the sharp crack that defines the backbeat), and the hi-hat (the fast, ticking high-frequency element that creates motion). With just kick and snare you already have something that reads as a beat.
- 808 / bass. The 808 is a deep, sustained sub-bass sound (named after the Roland TR-808 drum machine) that defines hip-hop, trap and a lot of pop. In many beats the kick and the 808 share the same rhythm so they hit as one package — the kick supplies the punch, the 808 supplies the body and the note.
- Melody. The hook or lead line that gives the beat its identity — a synth, a plucked instrument, a sampled loop, a piano motif.
- Chords / harmony. The pads, keys or chord progression that sit underneath the melody and set the mood. Even two or three simple chords give a beat emotional direction.
You don’t need all four on day one. Plenty of strong beats are just drums, an 808 and a single melodic loop. Add layers only when the beat asks for them.
3. Choosing a Tempo and Genre
Before you place a single note, pick a genre and a tempo — measured in BPM (beats per minute). Tempo is the single decision that most shapes how a beat feels, and different genres cluster around recognizable ranges:
- Hip-hop / trap: roughly 60–95 BPM (trap is often written and felt at ~70 BPM with fast, 32nd-note hi-hats, though some count it at 140).
- House: roughly 120–130 BPM.
- Techno: roughly 130–145 BPM.
- Pop / R&B: commonly 90–120 BPM.
If you’re learning how to make beats for beginners, start with hip-hop or trap. The tempos are forgiving, the drum patterns are simple to program, and the genre is built around looping a short idea — which is exactly the skill you’re trying to learn. Set your DAW’s tempo, pick a key (C minor and A minor are friendly, all-white-key starting points), and you’re ready to build.
4. Programming Your First Drum Pattern
Most DAWs give you a step sequencer or a piano roll grid divided into 16 steps per bar (each step is a sixteenth note). This is where you’ll program your first drum pattern, and the classic starting layout is simple:
- Kick: on beat 1 (and often beat 3). In four-on-the-floor dance music it lands on all four beats.
- Snare (or clap): on beats 2 and 4 — the backbeat. This single placement is what makes a pattern feel like a song.
- Closed hi-hat: on every eighth or sixteenth step for a steady, driving pulse.
Even with only kick and snare, that should already sound like a real beat. A couple of beginner-friendly touches make it feel less robotic: set the snare’s velocity a little lower than the kick (around 80–100 if your kick is at full), and add the occasional faster hi-hat roll — a burst of 32nd notes — to break up the loop. Trap in particular is built on rolling, stuttering hats.
Once you have one bar you like, copy it across two bars, then change the last bar slightly — drop a kick, add a snare fill, open a hi-hat. You can extend a pattern almost endlessly this way: double the loop, vary the ending, repeat. Add your 808 last, often following the same rhythm as the kick, then write the bass notes to match the key you chose.

5. Melody, Chords and Sampling
With drums and bass in place, the melody is what gives the beat a personality. There are three common ways beginners add melody, and none is more “legitimate” than the others:
- Play or draw it in. Open a software instrument (piano, synth, plucked sound) and either play a line on your MIDI controller or click notes into the piano roll. Start with three or four notes that fit your key and loop them. Simple beats memorable melodies.
- Build from chords. Lay down a two-to-four-chord progression on a pad or keys, then write a melody that sits on top of those chords. This guarantees everything is in tune with itself and is the fastest way to make a beat sound “musical.”
- Use a melodic loop or sample. Drop in a pre-made loop from a sample pack and build your drums around it. This is how a huge amount of modern hip-hop is made — but it comes with rules, which is the next section.
A practical workflow: pick a sound, find a short phrase you like, loop it, then arrange your drums to lock in with it. Don’t chase complexity. A four-note hook that loops cleanly will outperform a busy melody that fights the drums every time.
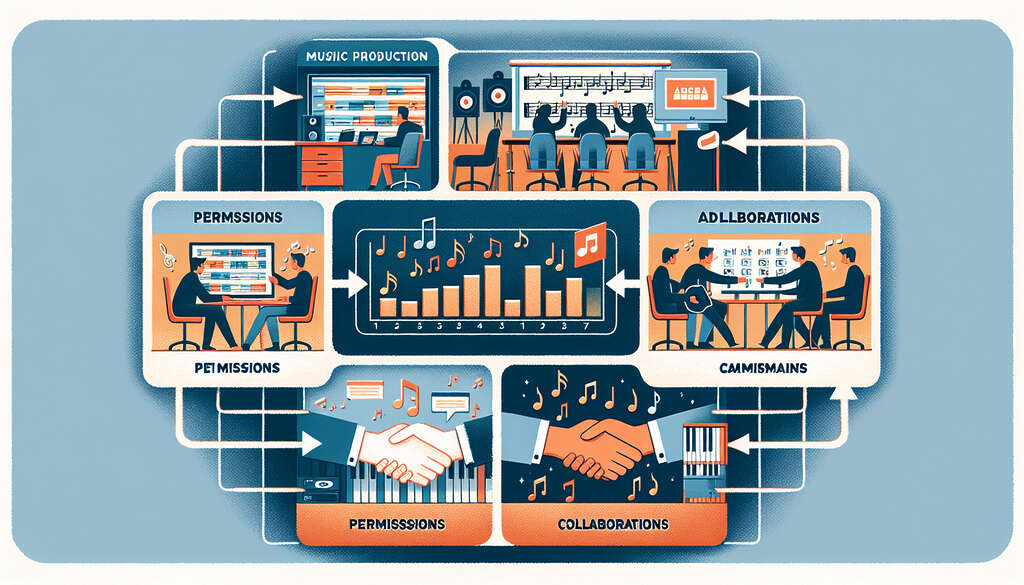
6. Sampling and Clearance Basics
If you sample, you need to understand one distinction that trips up nearly every beginner: royalty-free is not the same as copyright-free.
When you buy or download a royalty-free sample pack (from libraries like Splice, LANDR, Tracklib, Cymatics and many free packs), it means you don’t owe ongoing royalties to the sample’s creator for using it in your music. That’s the safe, beginner-friendly path: the loops and one-shots are cleared for you to use, often commercially. But “royalty-free” does not mean “no license terms” — read the license. Some packs forbid you from reselling the sounds inside your own sample pack, and some ask for a credit.
Sampling an existing record — pulling a few seconds from a song you love — is a completely different situation. Any recognizable sample, no matter how short, legally needs to be cleared: you need permission from both the owner of the recording (usually a label) and the owner of the composition (the publisher/songwriter). Clearance typically means paying an upfront fee, giving up a share of royalties, and surrendering a percentage of your new song’s composition. Length doesn’t get you off the hook — a one-second sample needs clearing the same as a sixteen-bar loop.
For your first beats, the simple rule is: learn on royalty-free packs and sounds you make yourself. If you fall in love with a sample from a commercial record, treat the finished beat as practice — don’t release it commercially until it’s properly cleared. This keeps you legally safe while you focus on the craft.
7. Arranging the Beat
A loop is not a song. Arranging is the step where you turn your 2-, 4- or 8-bar loop into something with structure and movement. You don’t need a complicated roadmap — a basic beat arrangement usually moves through:
- Intro — strip it back. Start with just the melody, or drums alone, to set up the drop.
- Main / verse section — your full loop with all the core elements playing.
- A change-up — a hook, chorus or breakdown where you add or remove a layer so the listener’s ear stays engaged.
- Outro — let elements fall away to a clean ending.
The single most useful arranging tool for a beginner is subtraction. Muting the drums for four bars, then dropping them back in, creates more energy than adding another instrument ever will. Build your full loop first, then carve sections out of it.
8. Mixing Basics
Mixing is making all your layers sit together so nothing is buried and nothing is harsh. You can spend years on this, but four fundamentals get a beginner most of the way:
- Gain staging. Before you touch any effect, set sensible levels. Keep individual tracks well below the top of the meter — a common starting guideline is around -18 dB RMS per track and never letting your final mix peak above roughly -8 dBFS. Leaving this headroom means you’re not fighting distortion the whole way through.
- Balance with faders first. Get the relative volumes right with the faders alone before reaching for plugins. Most “bad mix” problems are really balance problems.
- EQ to carve space. Use an EQ to cut frequencies that clash rather than only boosting. Think in three bands: low end (20–250 Hz, where kick and 808 live), mids (250 Hz–4 kHz, where most instruments fight for room), and highs (4–20 kHz, air and brightness). If two sounds feel muddy together, cut one — don’t boost the other.
- Compression gently. Compression evens out the loudest and quietest moments so a part sits steadily in the mix. Start subtle; heavy compression on every track squashes the life out of a beat.
That’s mixing. Mastering — the final loudness-and-polish pass on the whole track — is a separate discipline. For beginners, a streaming-friendly target is around -14 LUFS of integrated loudness, which is roughly what Spotify and Apple Music normalize to. Many DAWs and free online tools will handle a basic master for you while you learn.
9. Exporting and Bouncing
When the beat is done, you “export” (or “bounce”) it out of the DAW into an audio file. A few rules keep your files clean:
- Export to WAV, not MP3, for anything you’ll mix, master or send to a collaborator. WAV is uncompressed and lossless; MP3 throws away data. Export at 24-bit (or 32-bit float) and match your session’s sample rate (44.1 kHz is standard for music).
- Make an MP3 only for sharing/previews — texting a friend, posting a snippet. For that, a high-quality MP3 is fine.
- Leave headroom. If you’re sending your beat off to be mastered separately, don’t max out the loudness — a peak around -6 dBFS gives the mastering stage room to work.
- Bounce stems if collaborating. Exporting each part (drums, 808, melody, chords) as its own file lets an artist or engineer remix and balance later.
Once you have your WAV, you’ve made a beat — start to finish. The next one will be faster.
10. How to Choose Your First DAW
The most common question from people learning how to produce music is “which DAW should I use?” Honestly, the differences matter far less than beginners think — every major DAW can make every kind of beat. Pick based on your platform and budget, learn it deeply, and don’t switch chasing the “perfect” one.
- On a Mac, start with GarageBand. It’s free, pre-installed, genuinely professional, and upgrades seamlessly to Logic Pro if you stick with it.
- On Windows, start with Cakewalk by BandLab. It’s a full DAW with no track limits and free.
- Want an FL Studio-style step-sequencer workflow for free? Try LMMS.
- Want zero installation? BandLab runs in your browser and even supports real-time collaboration on a shared project link.
- Ready to pay later? FL Studio is the long-time favorite for beat makers and trap producers; Ableton Live excels at loop-based, electronic workflows. Neither is necessary to start.
The best DAW for beat making is the one you’ll actually open every day. Choose one, ignore the rest, and put your energy into making beats — the software is not what’s holding you back.
Frequently Asked Questions
How do I make a beat with no experience and no equipment?
Install a free DAW — GarageBand on Mac, Cakewalk on Windows, or BandLab in your browser — and use its built-in drum kit. Program a kick on beat 1, a snare on beats 2 and 4, and hi-hats on every step. That’s a beat. You need no extra gear to start; a MIDI controller and sample packs are upgrades you add later.
Is beat making for beginners hard to learn?
The first beat is easy — you can make one in an afternoon. Getting good takes time, like any craft. The fastest path is to finish lots of short beats rather than perfecting one. Each finished beat teaches you more than hours of tutorials.
Do I need to know music theory to produce music?
No. You can program drums and loop melodies entirely by ear and by clicking notes in. That said, learning a few basics — what a key is, how a minor scale sounds, how to build a simple chord — accelerates everything and stops your melodies from clashing. Start without it; pick it up as you go.
What tempo should a beginner beat be?
If you’re making hip-hop or trap, start around 70–90 BPM — forgiving tempos with simple drum patterns. House sits around 120–130 BPM and techno around 130–145 BPM. Pick the genre you love and use its typical range.
Can I use any sample I find online in my beat?
Only safely if it’s labeled royalty-free and you’ve read its license. Royalty-free means no ongoing royalty fees — but it’s not the same as copyright-free, and licenses can have conditions. Sampling an actual released song legally requires clearance (permission plus fees and royalty splits) no matter how short the clip. Learn on royalty-free packs to stay safe.
What format should I export my beat in?
Export a WAV (24-bit, matching your session sample rate) for anything you’ll mix, master, release, or send to a collaborator. Use a high-quality MP3 only for quick previews and sharing. WAV is lossless; MP3 discards audio data.
Some links in this article may be affiliate or referral links, and this guide was produced with AI assistance and human editing. Mentions of specific DAWs, sample libraries and tools are for comparison and education — Get More Streams does not sell these products, and we aim to compare options fairly.
Written by Mihai Iancu for Get More Streams.